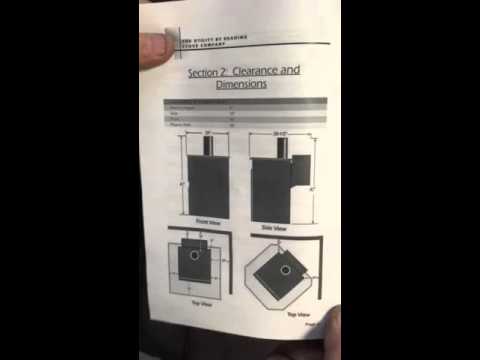
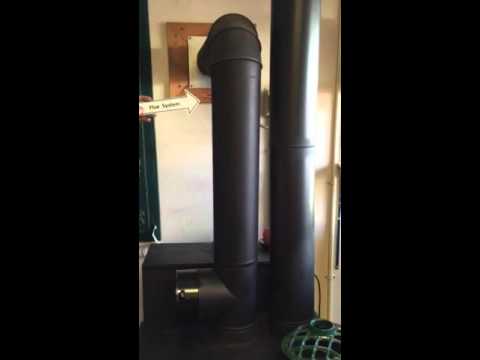
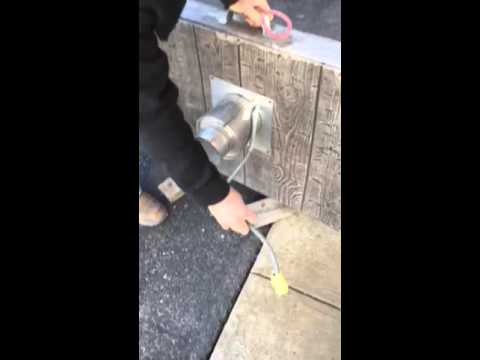
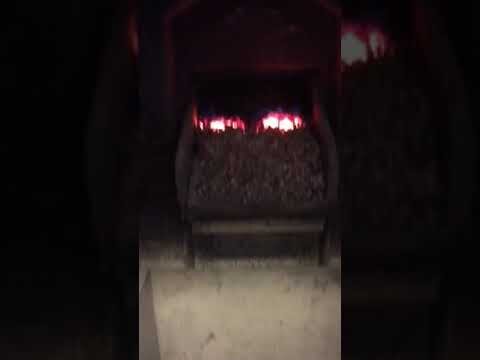
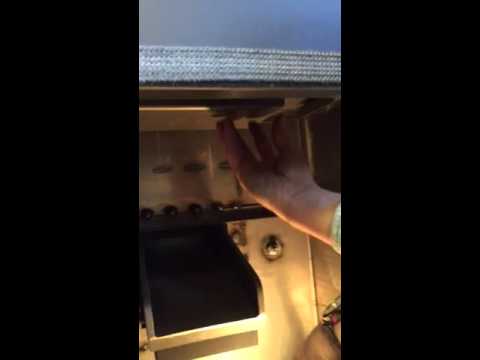
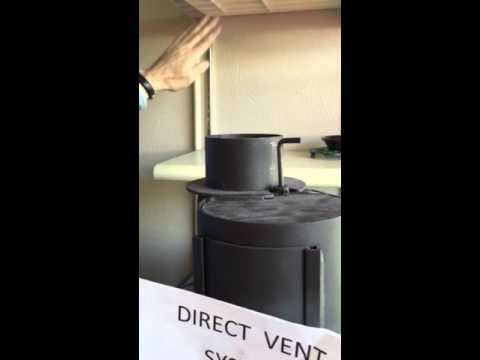
Reading Anthracite Stove Instructional Videos
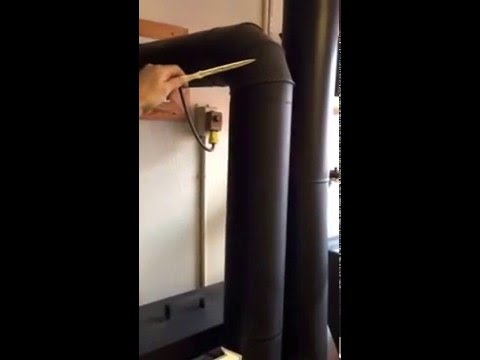
Installation & Start-Up


Click here to return to top of page
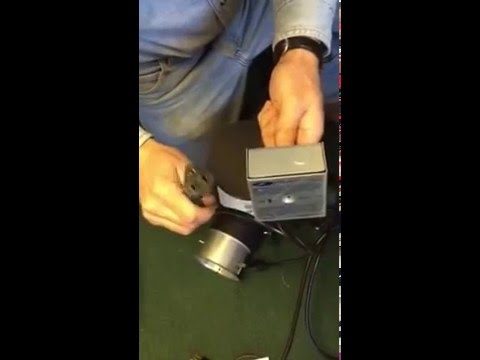
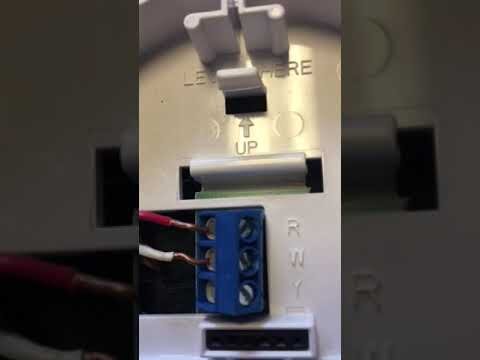
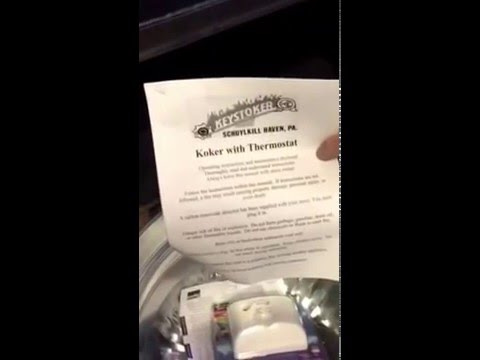
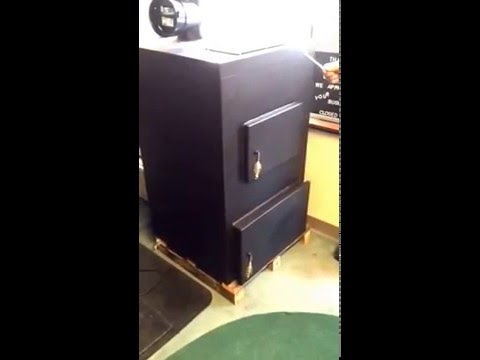
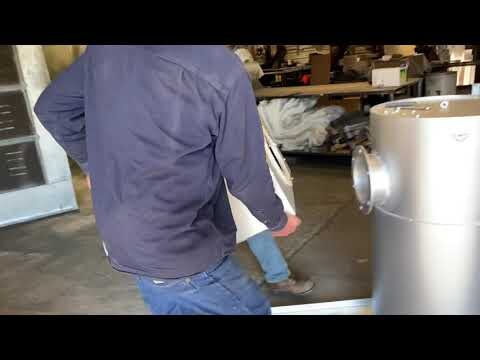
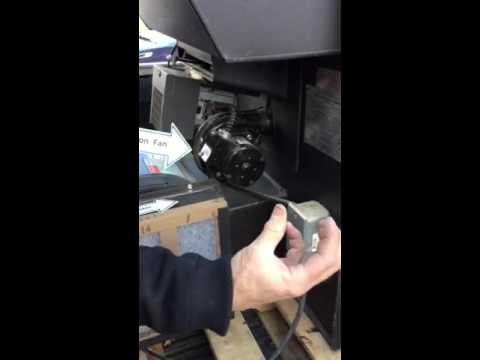
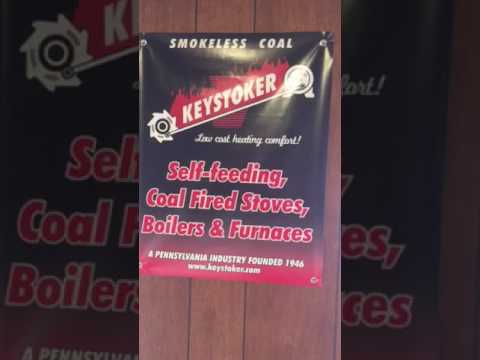
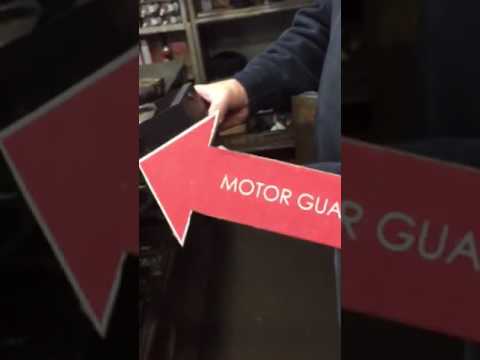
Keystoker Stove Instructional Videos
Installation & Start-Up


Click here to return to top of page
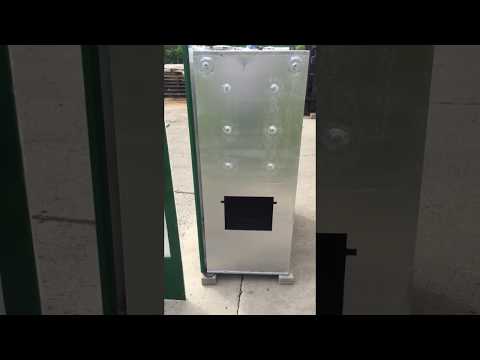
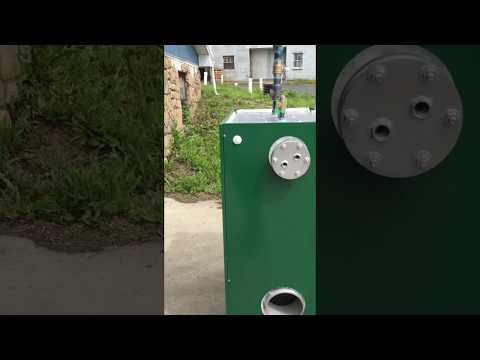
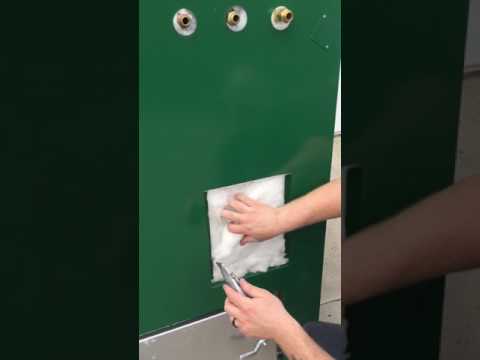
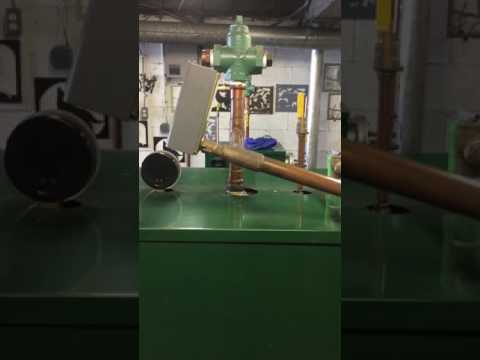
Keystoker Boiler Instructional Videos
Installation


Click here to return to top of page
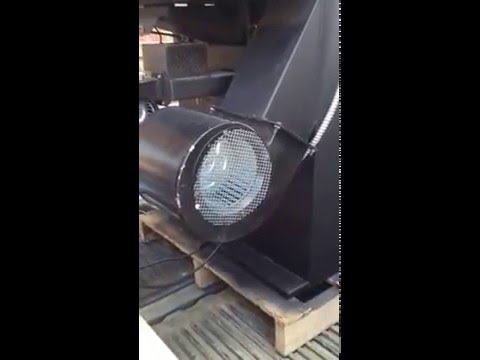
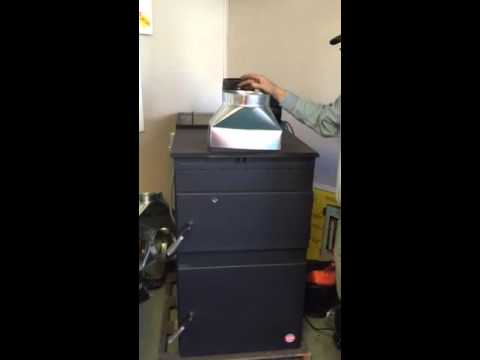
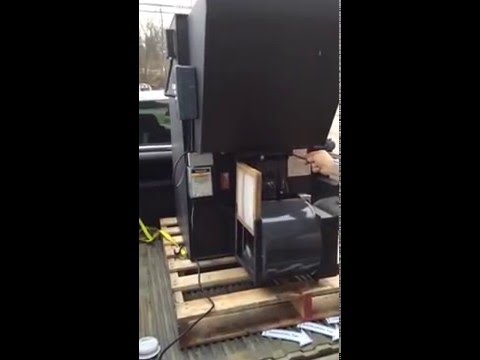
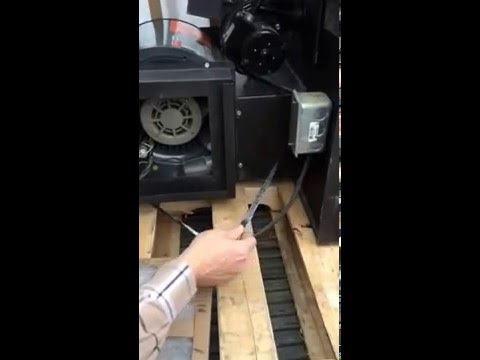
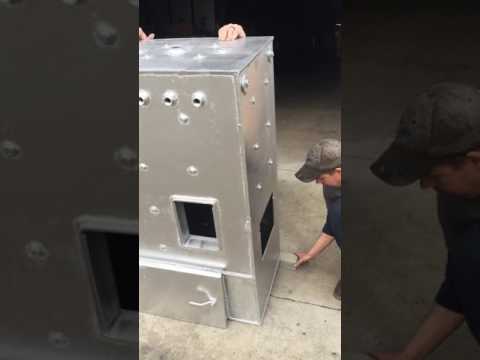
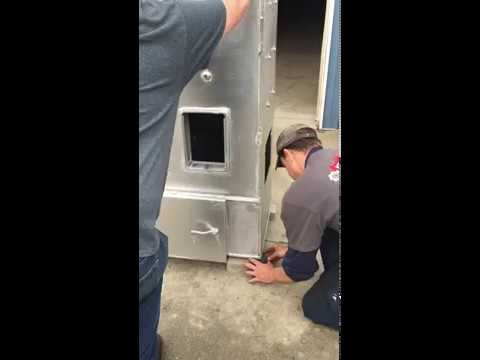
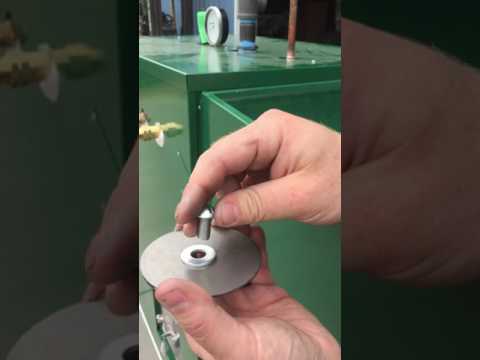
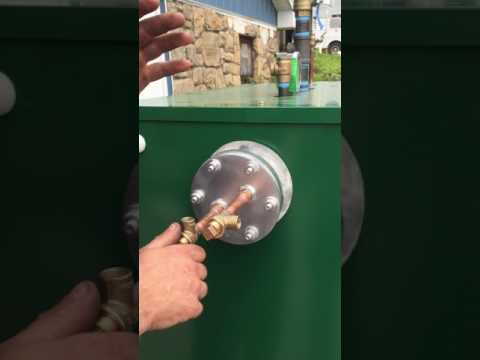
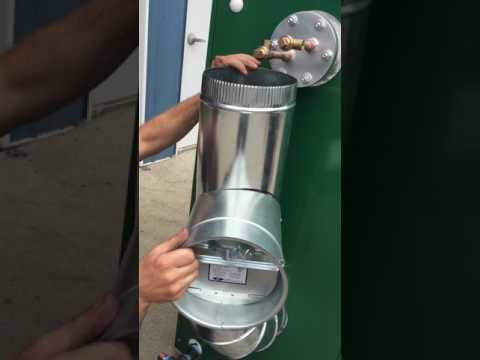
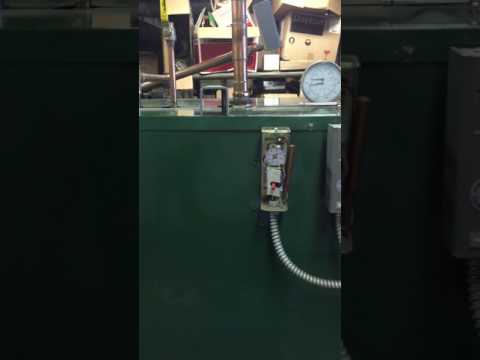
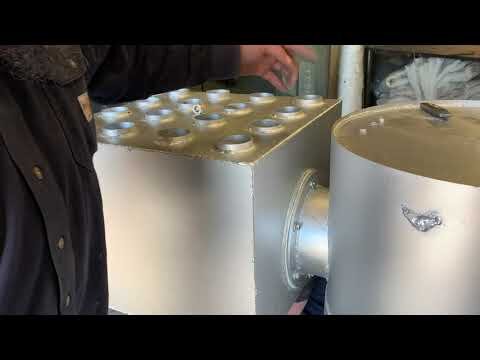
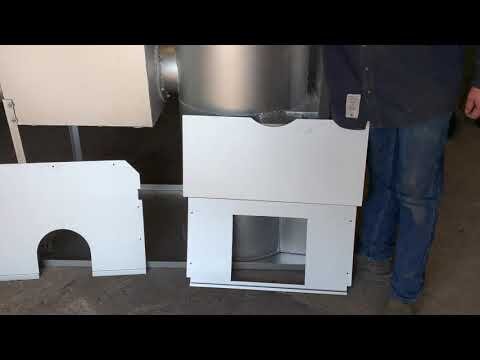
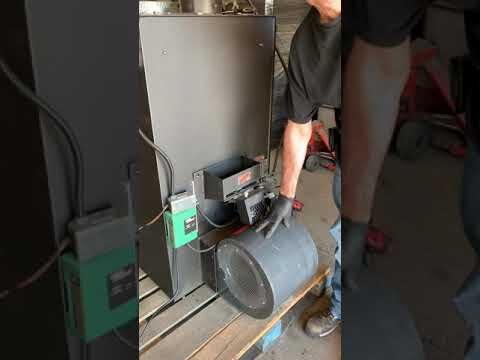
Keystoker Hot Air Furnace Instructional Videos
Installation


Click here to return to top of page
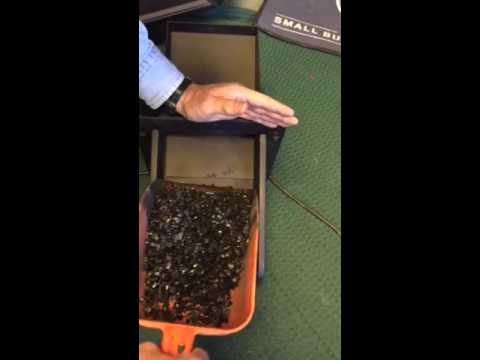
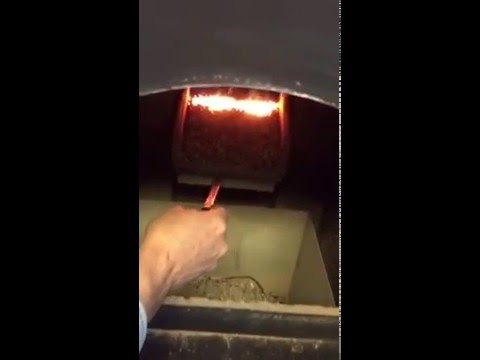
Reading Anthracite Stove Instructional Videos
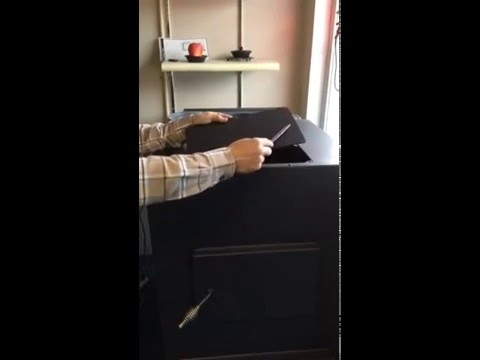
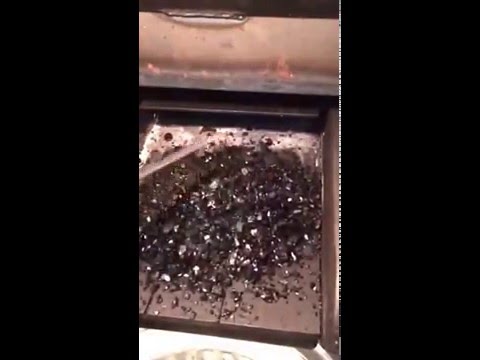
Cleaning & Servicing


Click here to return to top of page
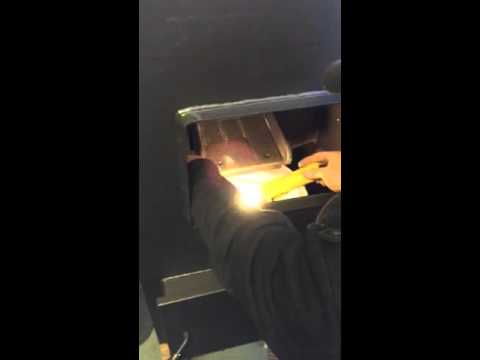
Keystoker Stove Instructional Videos
Cleaning & Servicing


Click here to return to top of page
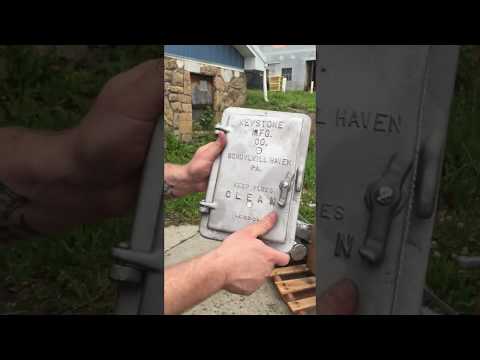
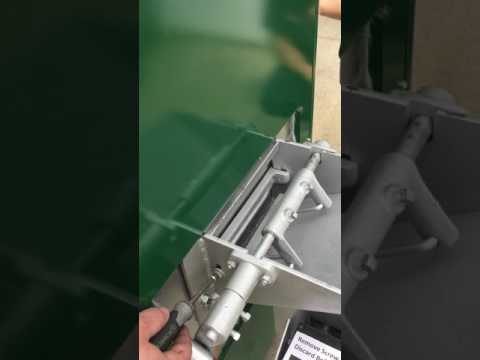
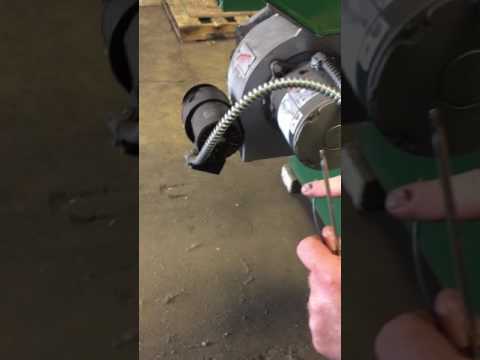
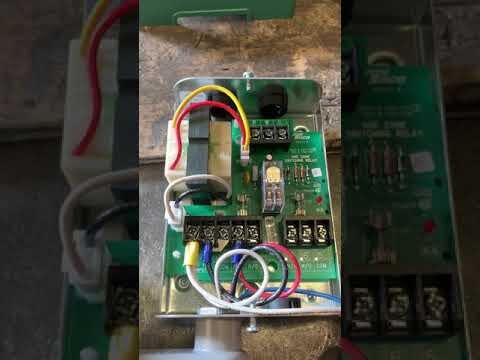
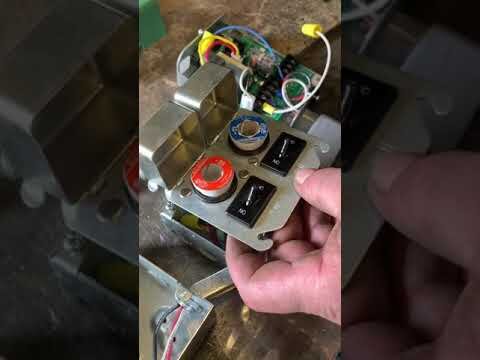
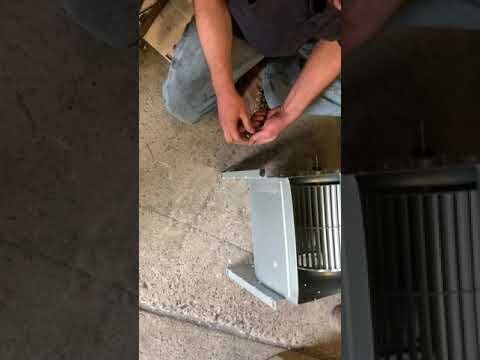
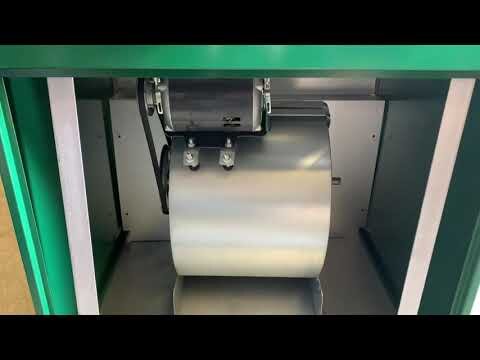
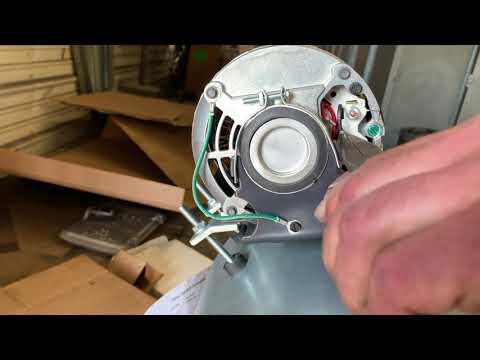
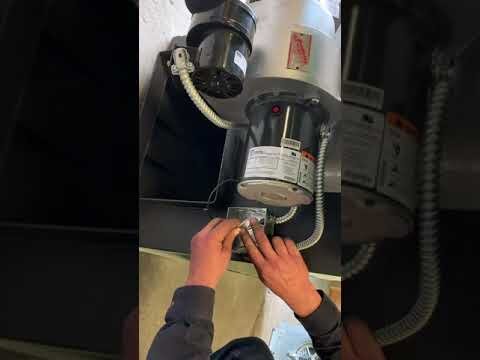
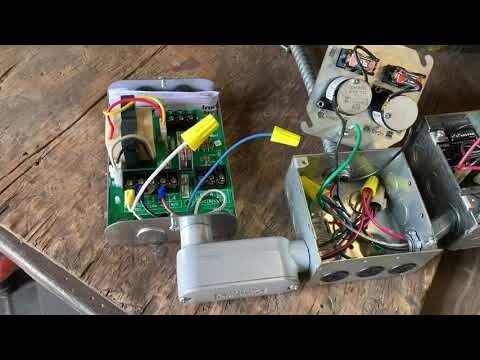
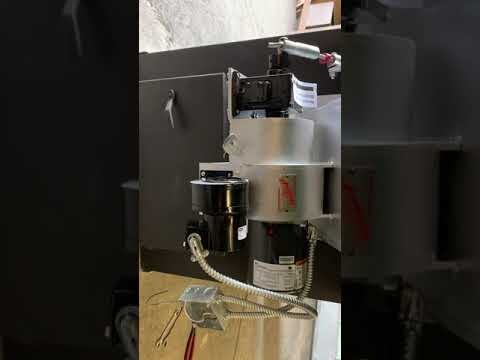
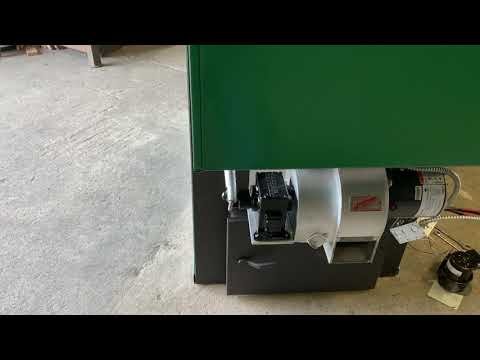
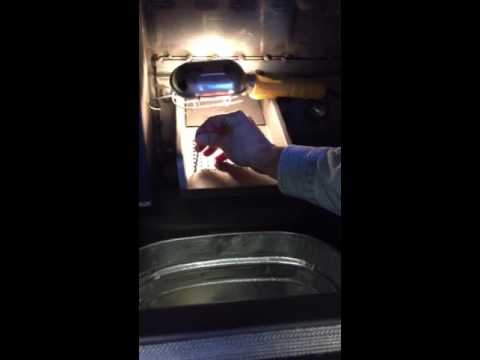
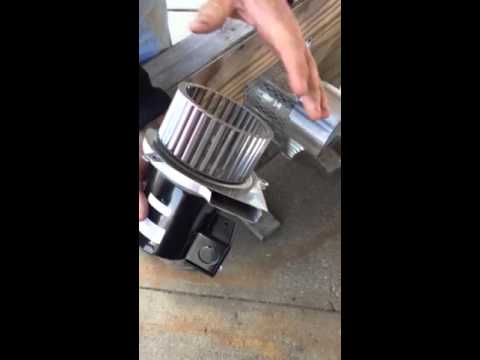
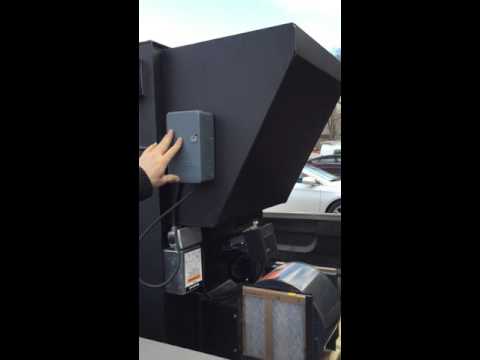
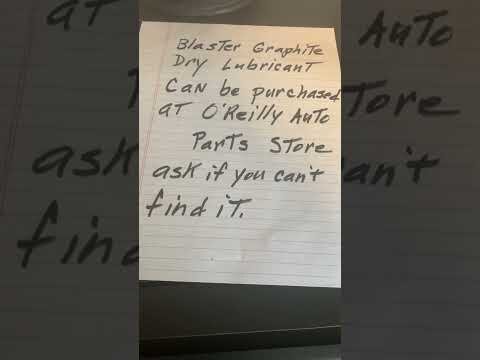
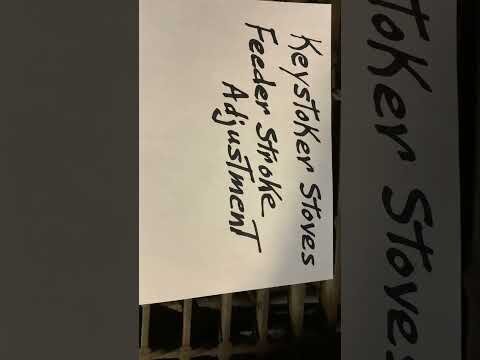
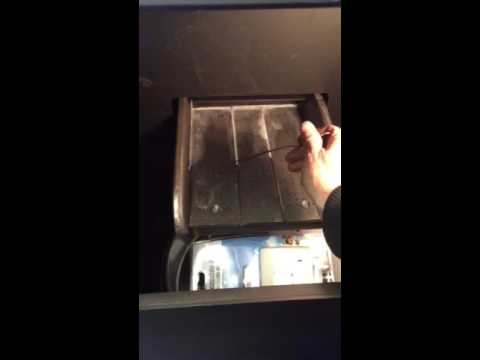
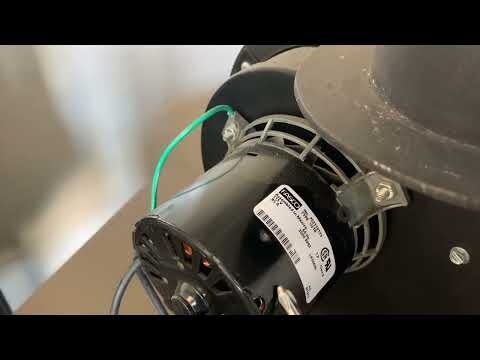
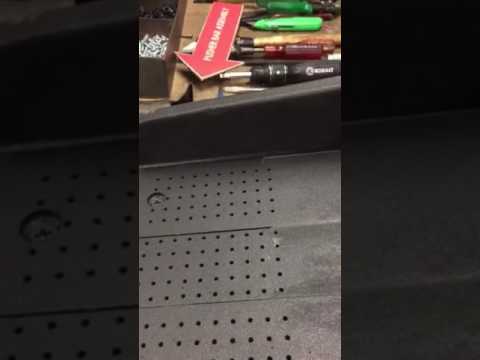
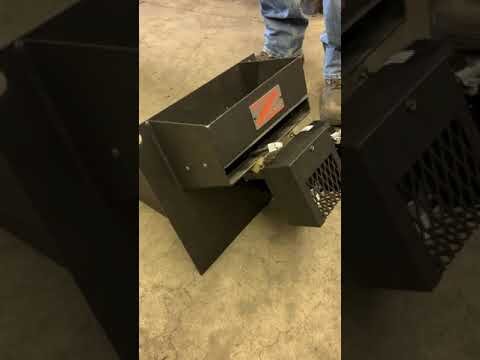
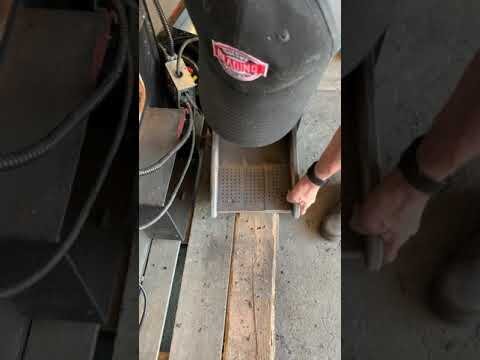
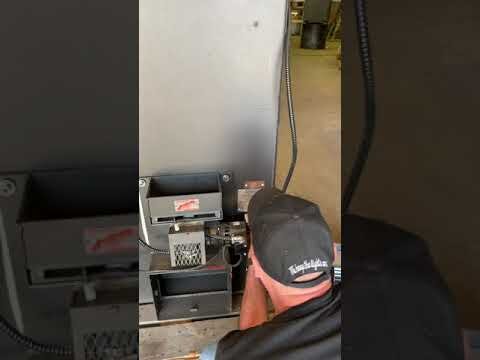
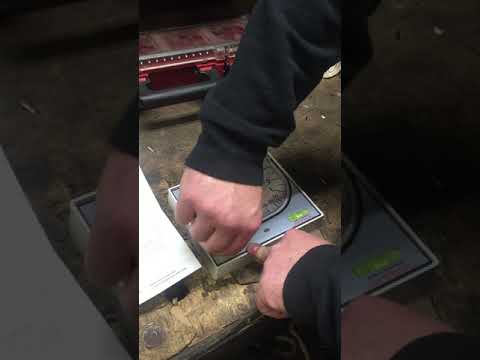
Keystoker Stove Instructional Videos
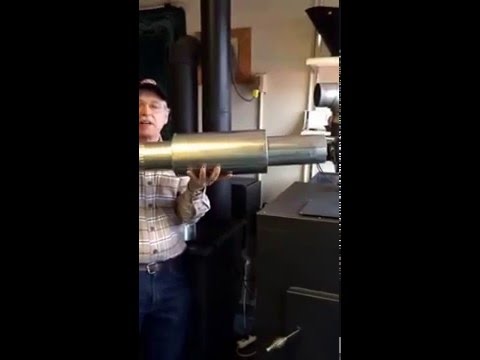
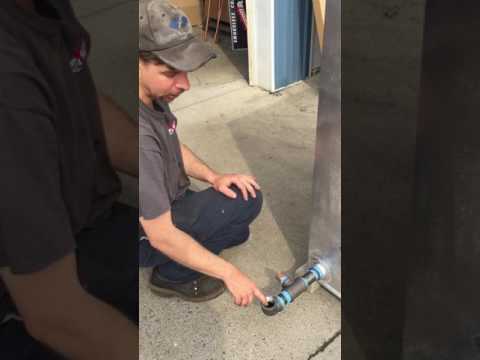
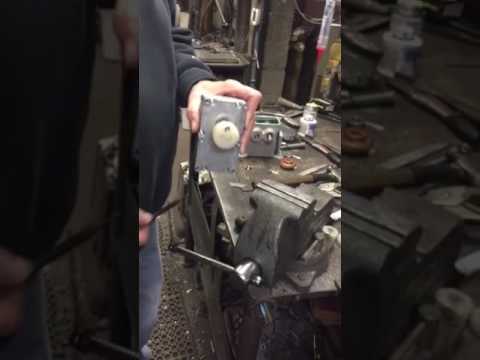
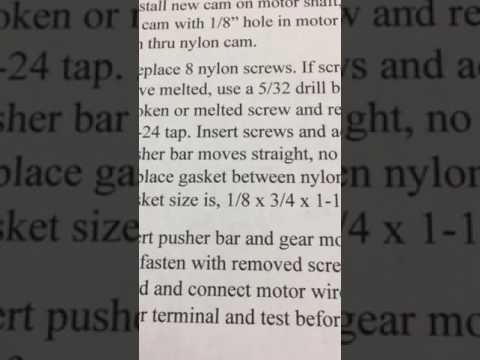
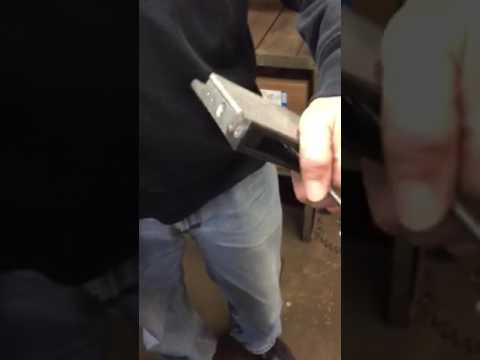
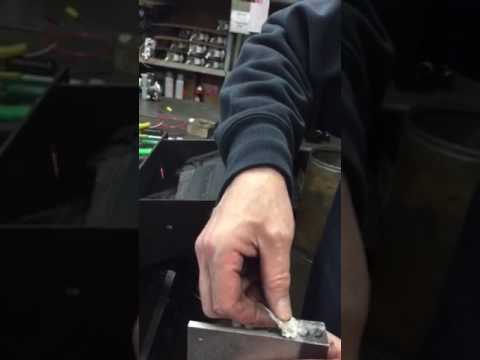
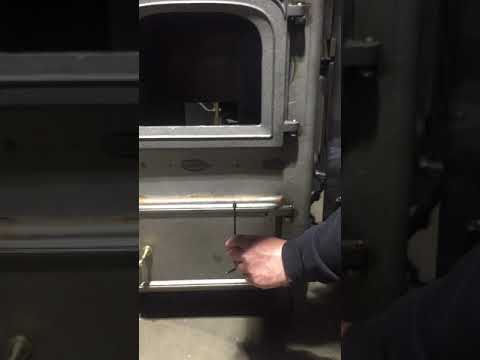
Repair Feeder System

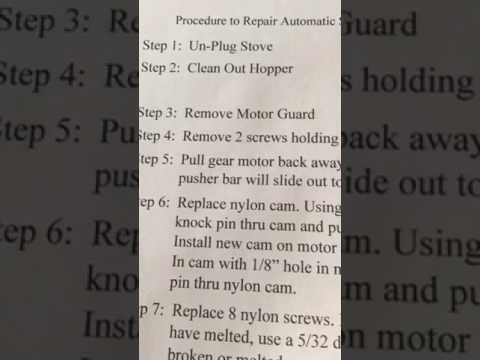


Click here to return to top of page
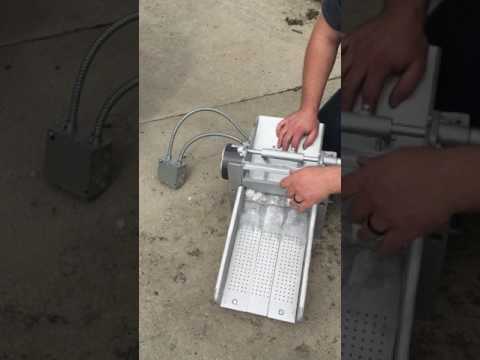
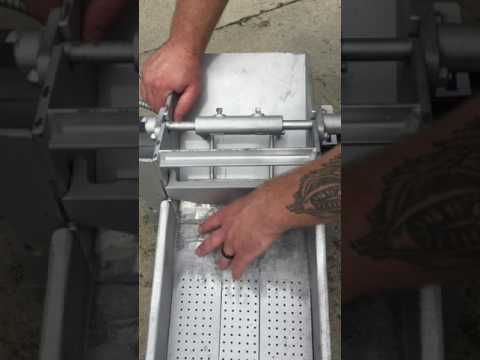
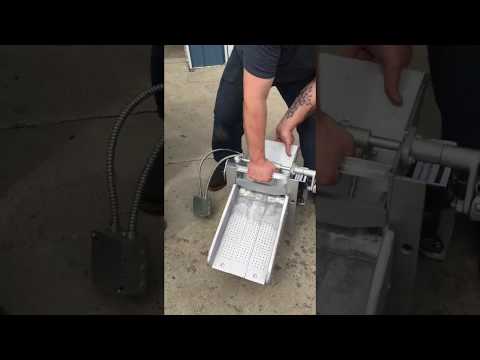
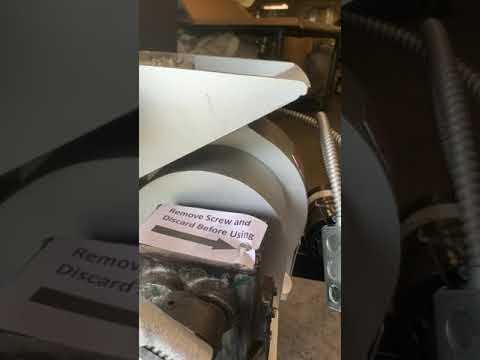
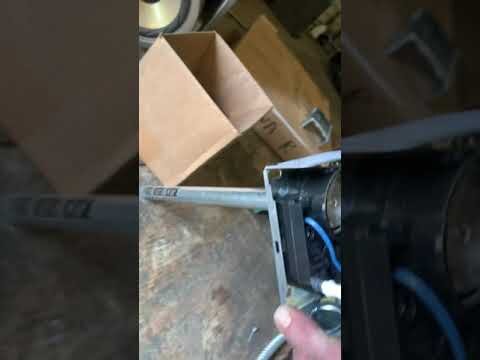
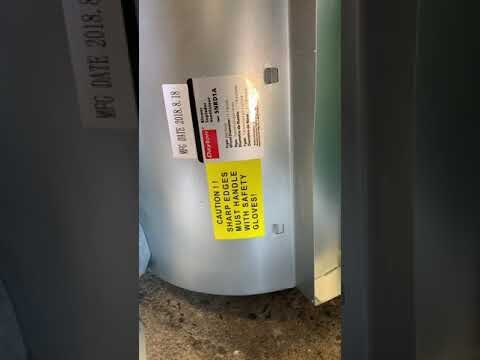
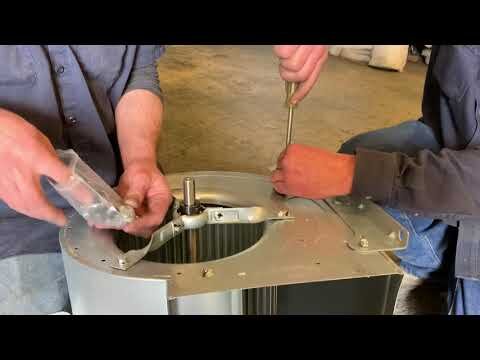
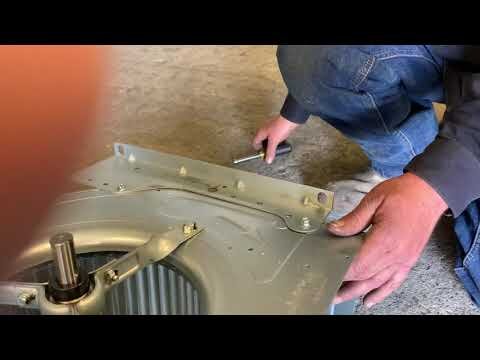
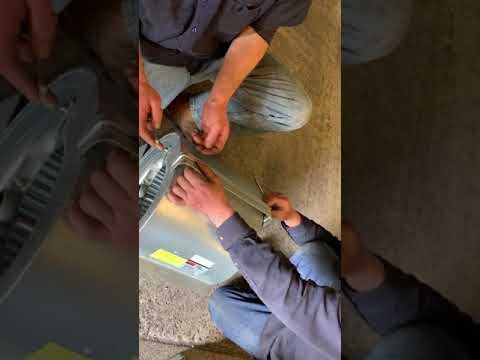
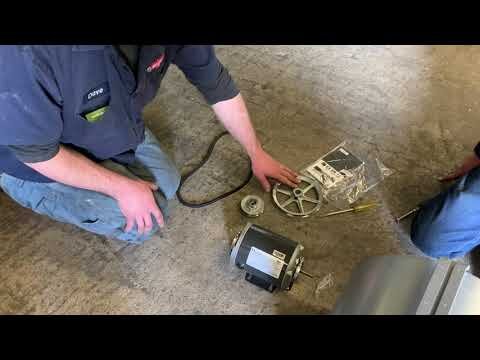
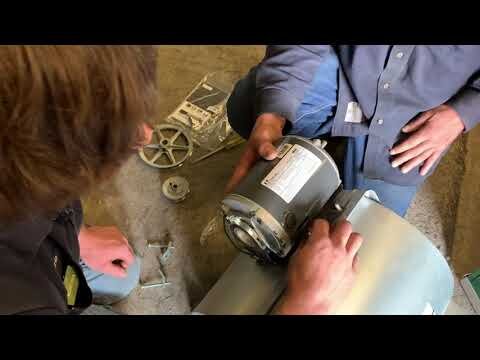
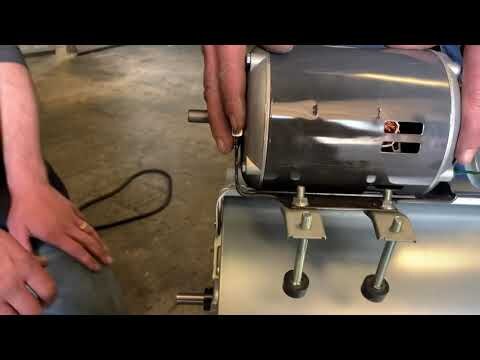
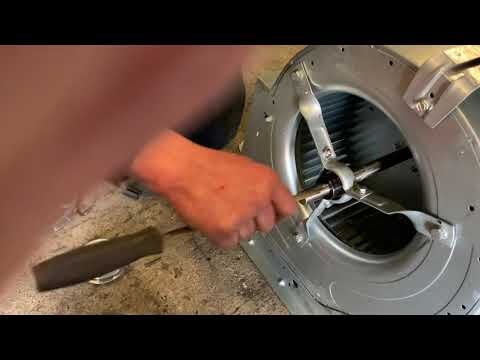
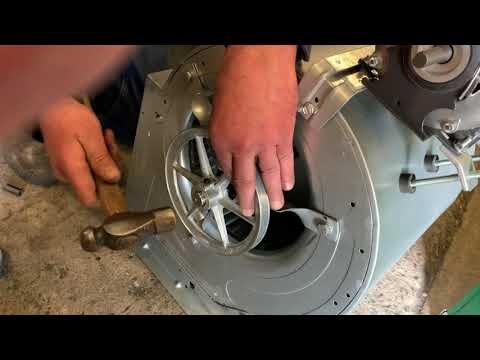
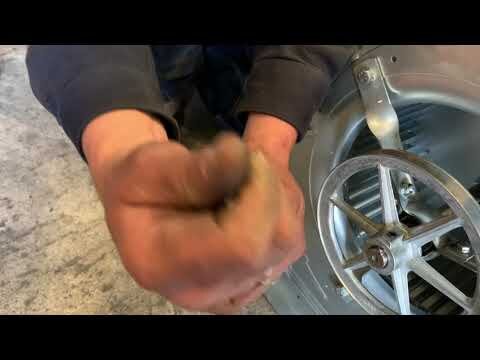
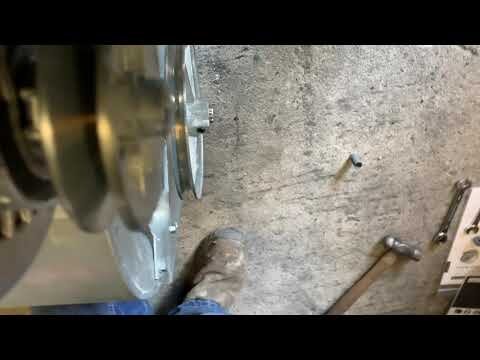
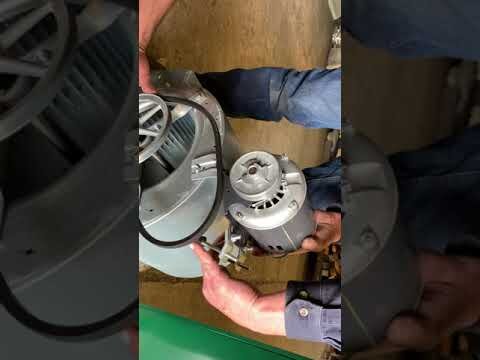
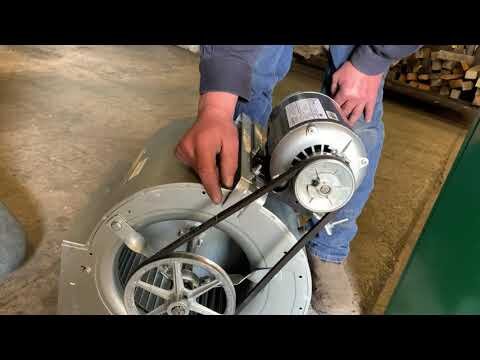
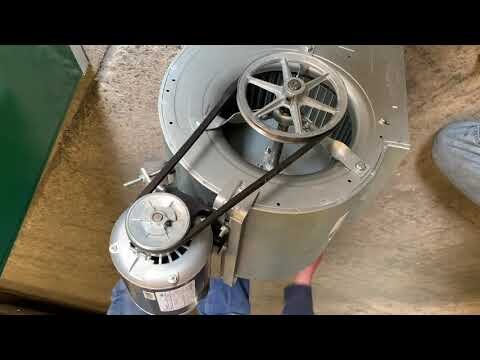
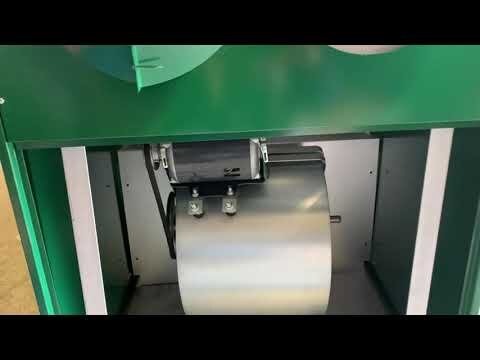
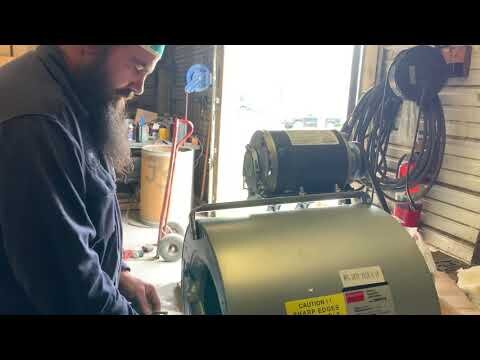
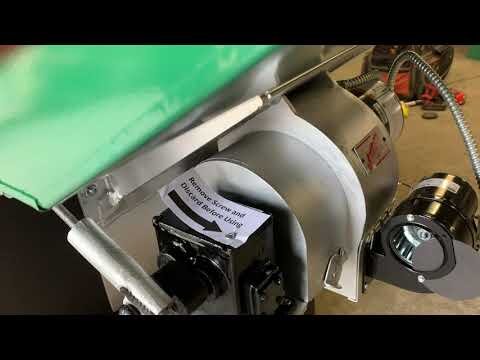
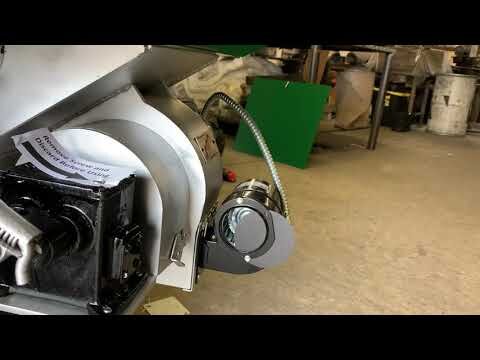
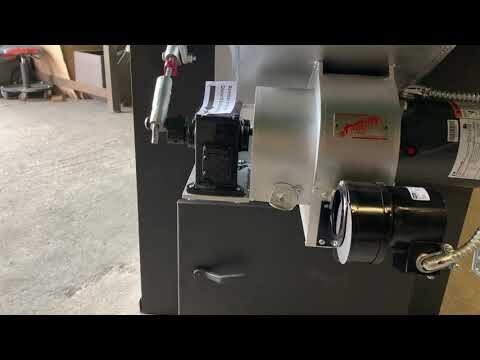
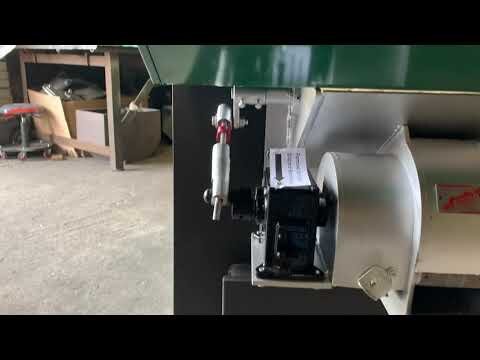
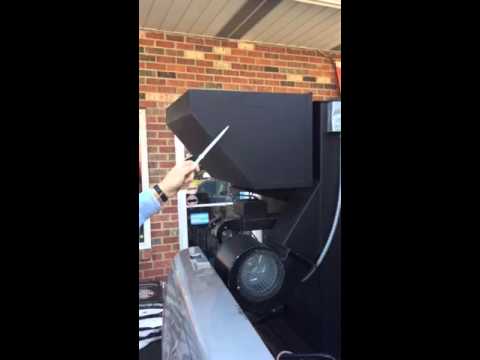
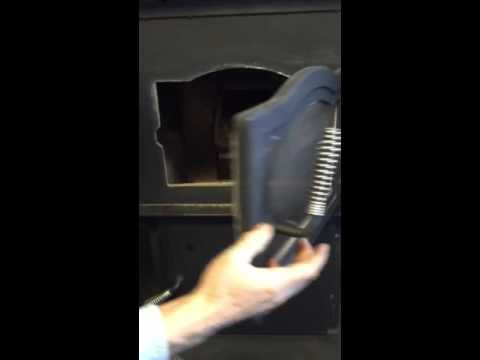
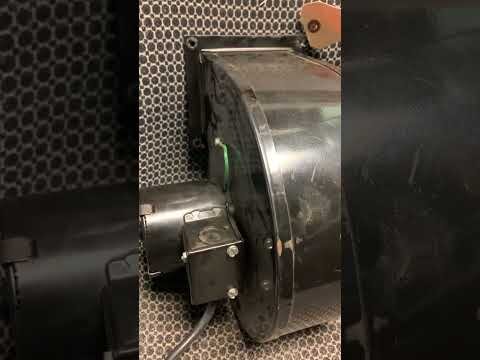
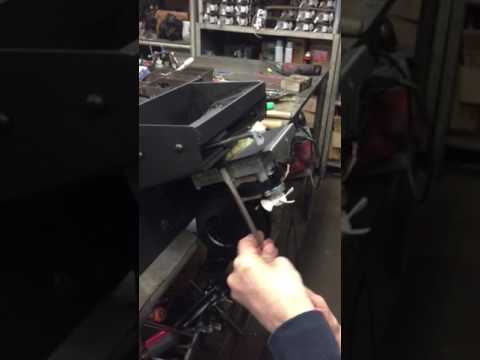
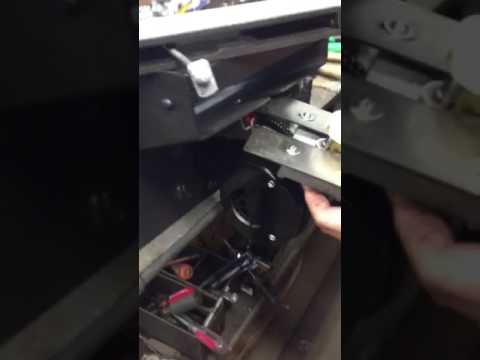
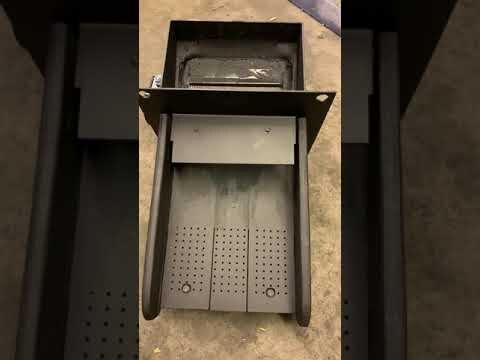
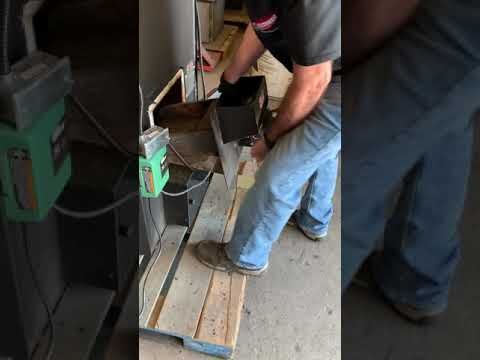
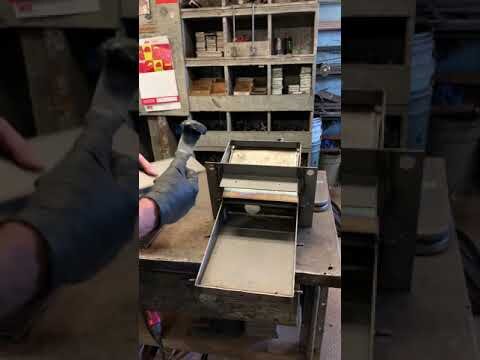
Keystoker Stove Instructional Videos
Removing & Repairing Stoker Assembly

Click here to return to top of page
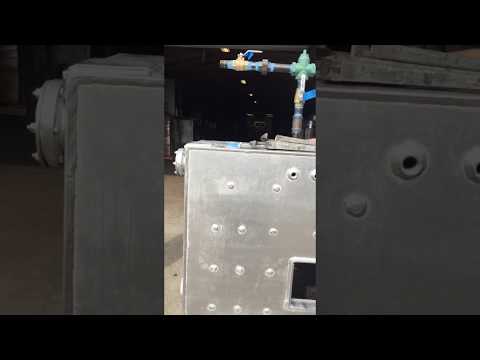
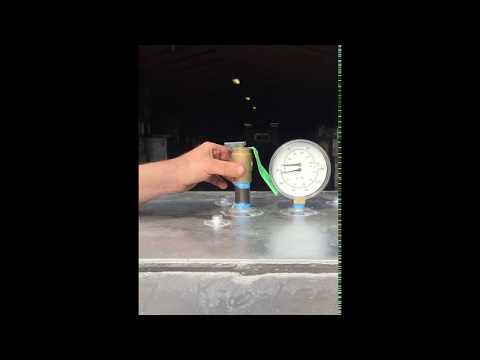
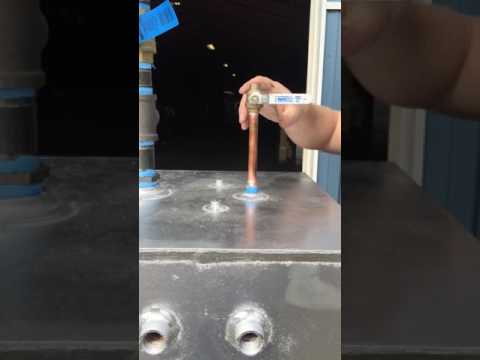
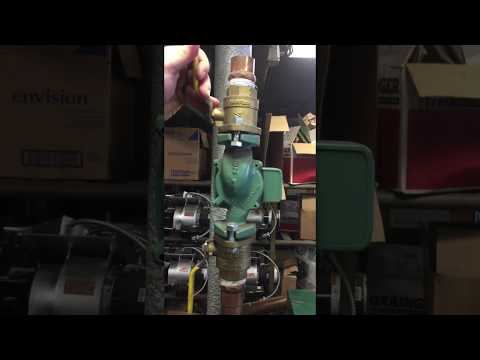
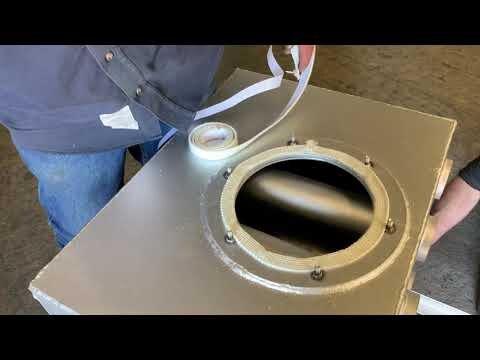
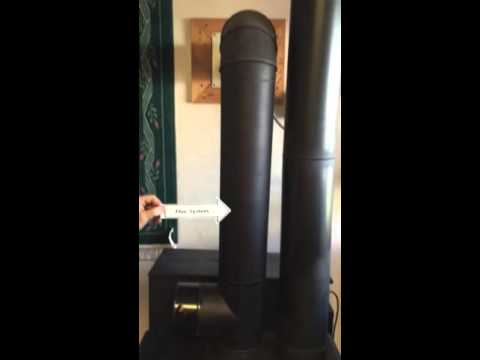
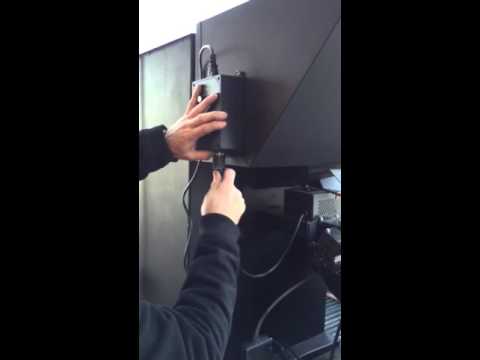
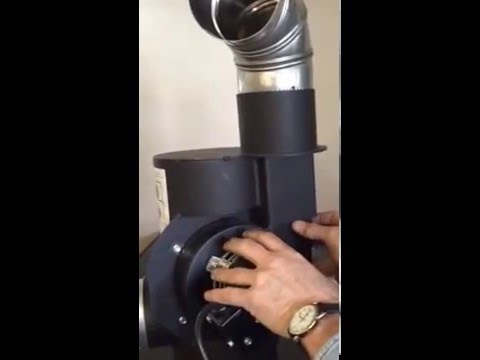
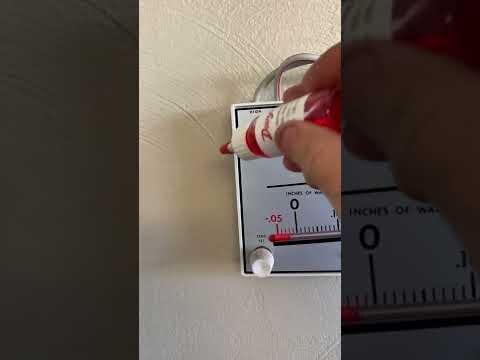
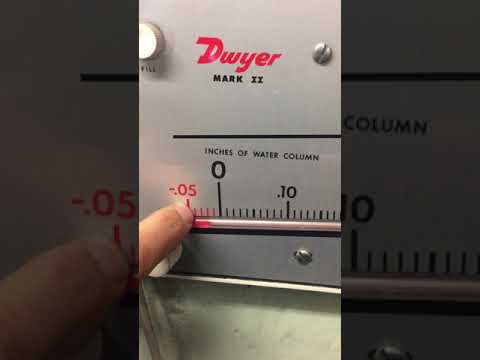
Manometer (Draft Meter) Installation
Click here to return to top of page
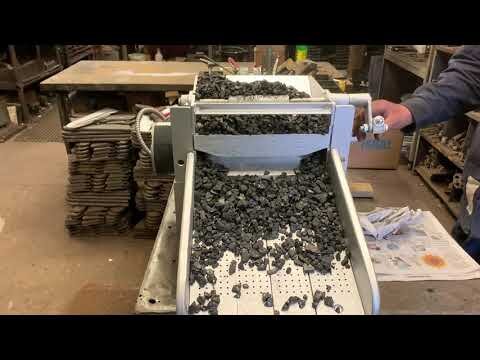
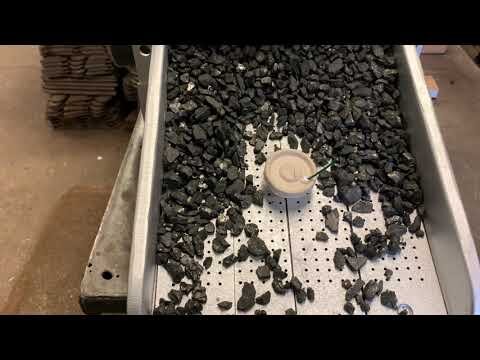
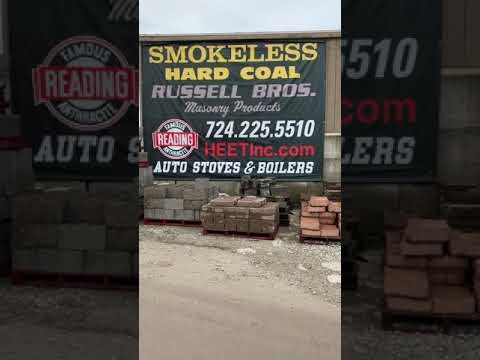
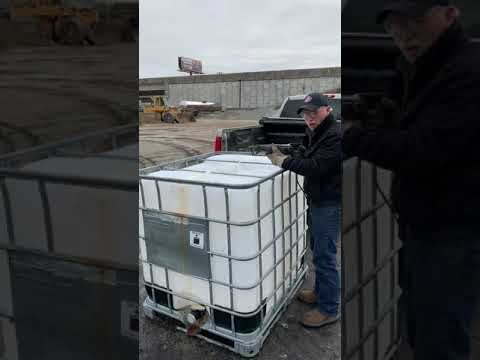
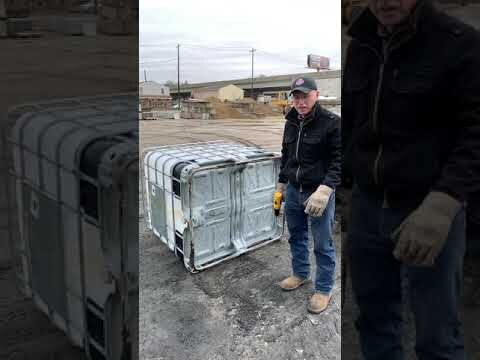
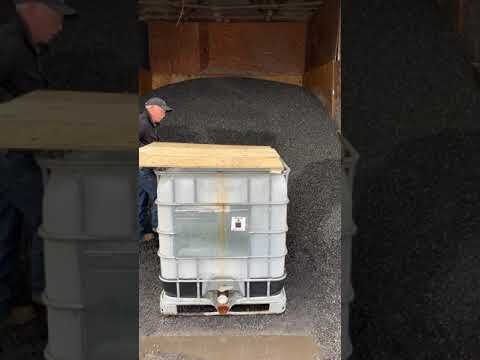
Recommended Bulk Coal Storage & Delivery
View fullsize
![]()
View fullsize
![]()
View fullsize
![]()
View fullsize
![]()

View fullsize
![]()

View fullsize
![]()


Click here to return to top of page
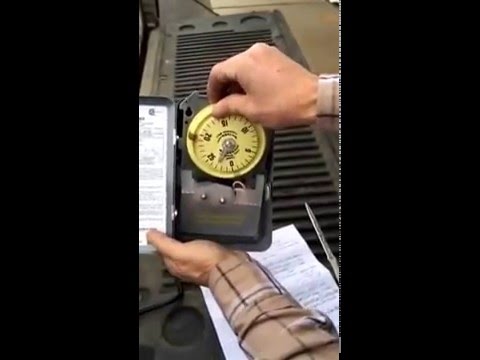
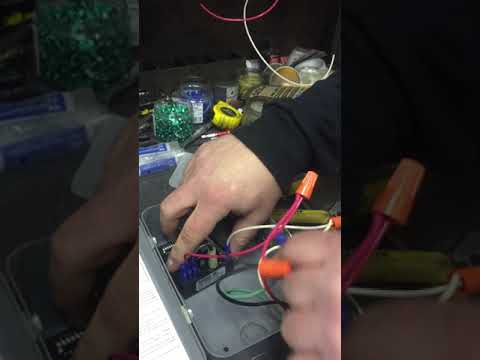
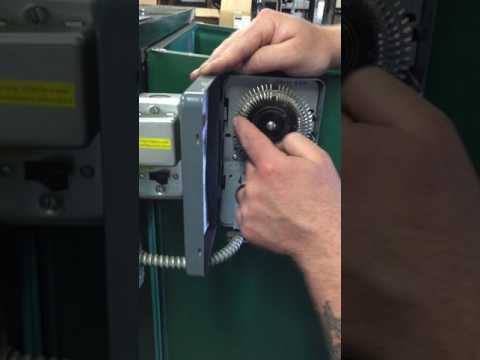
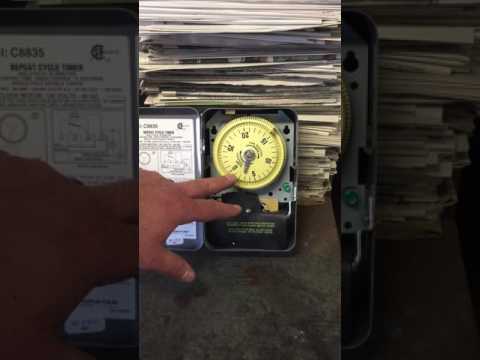
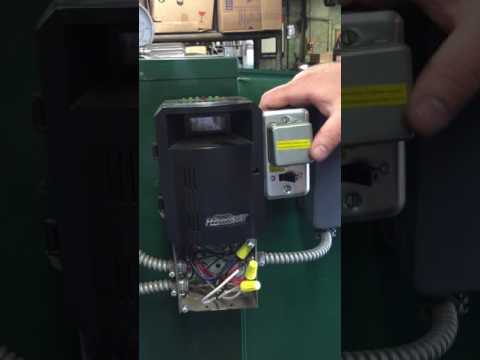
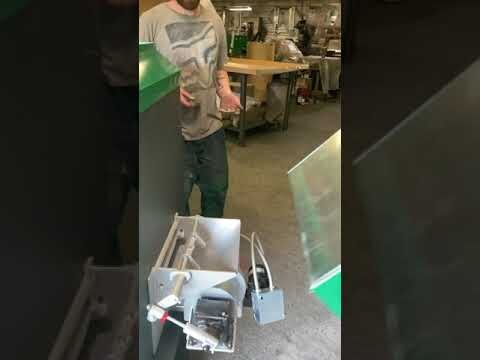
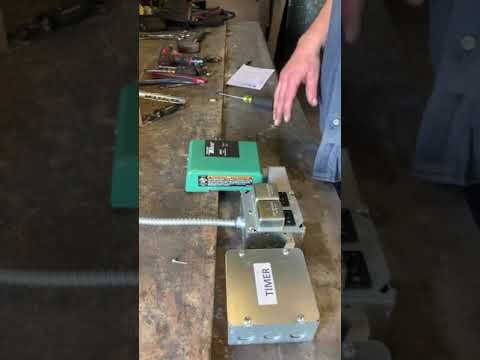
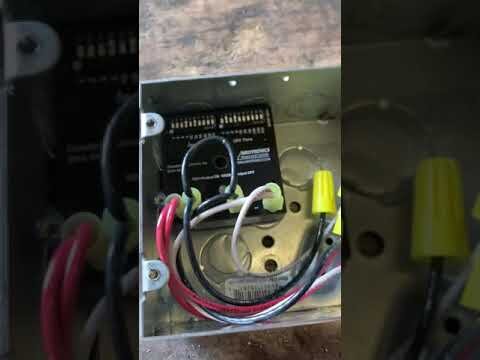
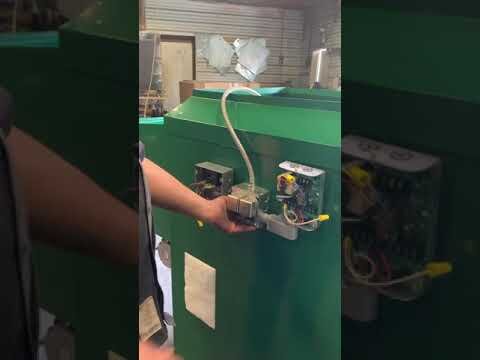
New Timer Updated 2018 for ALL Keystoker Stoves and Boilers
New Timer Updated 2018 for All Keystoker Stoves and Boilers
Click here to return to top of page